Thursday, November 23, 2017

Going Even Bigger


Binks Mach 1 PCX with Pressure Regulator
Now that we have proved the concept of spraying Externally Catalyzed Duratec Additive mixed with ISO/NPG Gelcoat using a Binks Mach 1 PCX spray gun, the time has come to go big.


The New Air Compressor
I was renting an air compressor from Joe, one of the painters in the boatyard.  It worked out well for the cockpit locker lids but did take a while to pump back up to pressure and couldn't keep up with continuous spraying.  It was costing $4/day and there were many days when it just sat while we were prepping, or sanding, or whatever.  I found a larger compressor online for $400 delivered, so I bought it.  It should pay for itself by the time the job is done and I'll be able to sell it to recoup some of the cost.


Spraying Gelcoat like Paint
Starting small has been our mantra all along and even though the confidence factor is good, we still expect that we will encounter unknown factors.  Repeatability is the key to this project.  The area above the transom rub rail seemed like a good place to start.


Sprayed Transom and Hulls
Catalyst Pressure - 2.6 psi
We set up to spray and used the new compressor.  Since it seemed like all the bugs had already been worked out, we started spraying.  Big mistake.  The cutoff pressure of the new compressor is 120 psi whereas the rented one was 100 psi.  This changed the pressure pot pressures which were checked during initial compressor run but not at full pressure.  This made the gelcoat pressure 5 vs. 6 psi.  The gelcoat was way over-catalyzed and in this case, refused to harden, even after 24 hours.  So, we had to scrape and sand all the gelcoat off of the transom.  2 days wasted.  Live and learn.  Always spray a test pattern on something other than the boat and wait for it to kick, then spray a small area of the boat checking both test area for proper catalyzation.  It is time consuming and may kill and hour but it is well worth it and a good lesson learned.
Gelcoat Pressure - 6 psi


Here are some photos of the transom sections that were sprayed with gelcoat and guide coat.
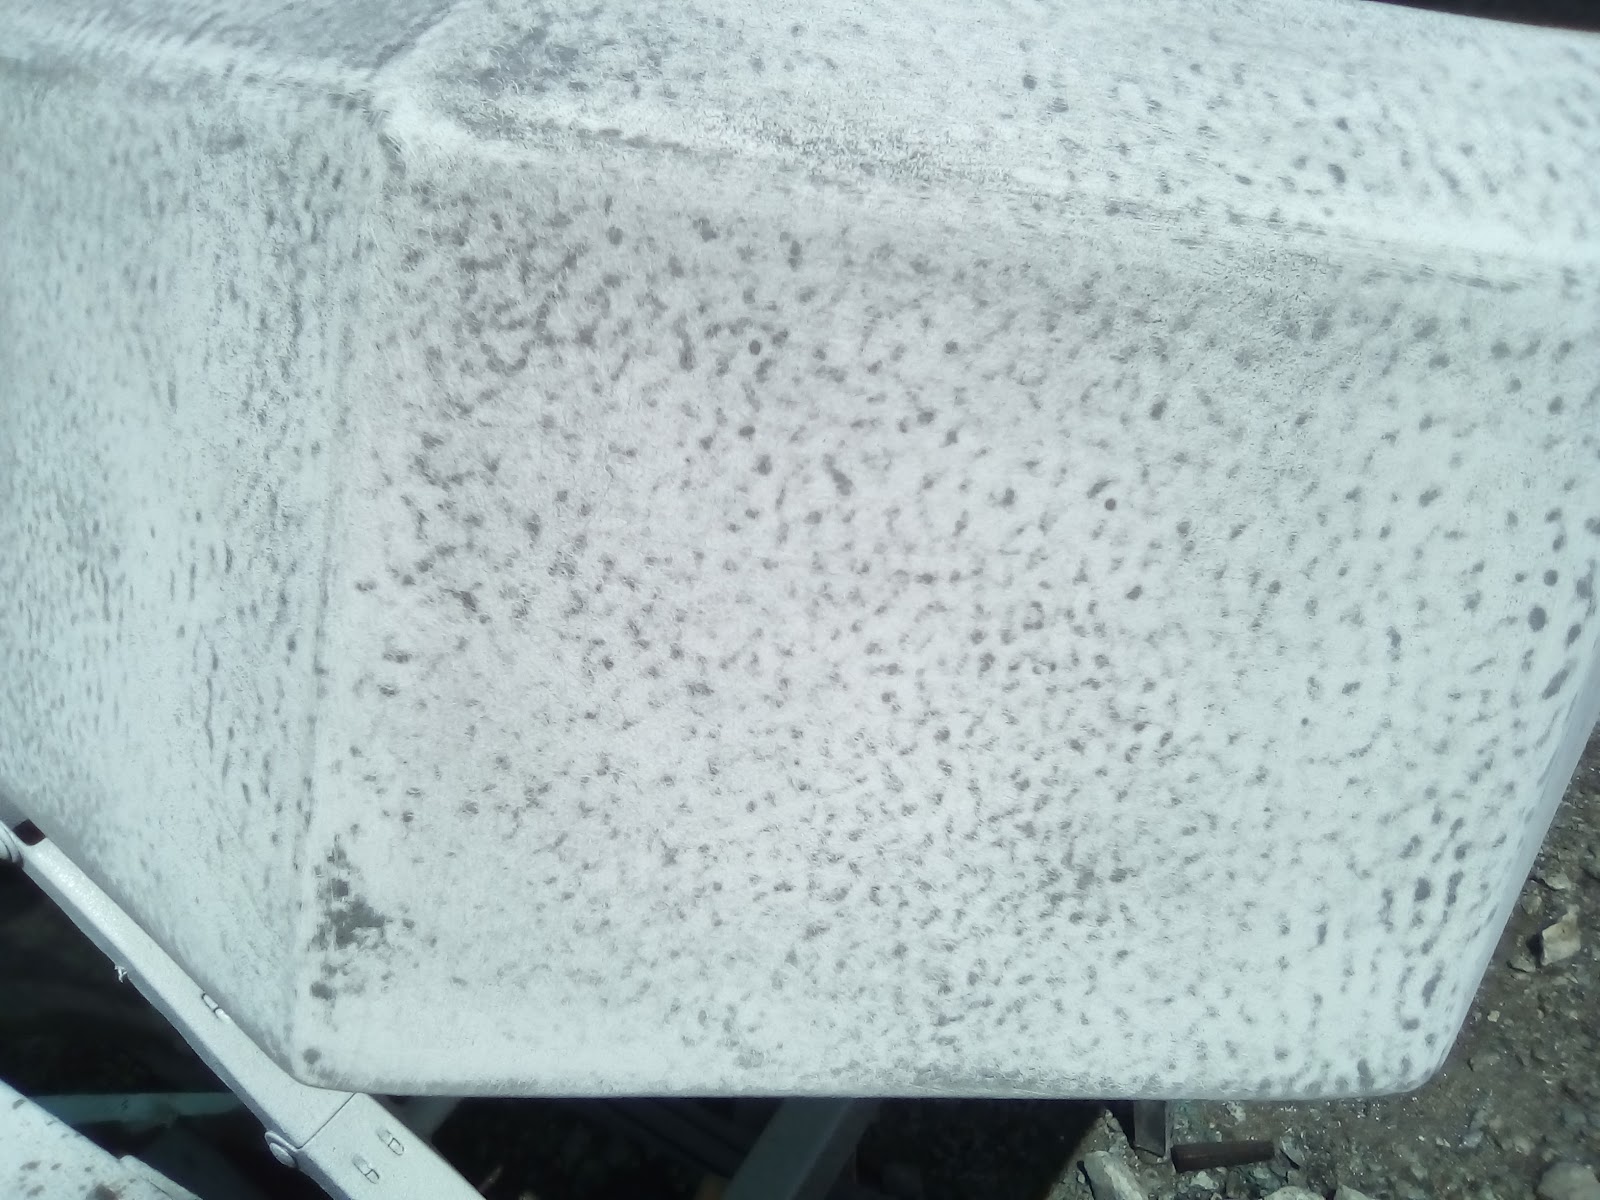
Partial Application of Guide Coat

Fully Guide Coated


Starting to Sand off Guide Coat


Sanded a small test area with 120/330/800 grit then Compound

Dave Deakyne
David Deakyne
David J. Deakyne
Dave Deakyne
Wallingford Dave Deakyne
David Deakyne
David J. Deakyne
Dave Deakyne
Wallingford

Wednesday, November 8, 2017

Putting Theory to Work

Sprayed with 4 thick layers of gelcoat

Up until now, all this has been a big theory and there have been some engineering obstacles to overcome.  Little by little, the sprayability of the Duratec and gelcoat has been perfected.  The pressures and flow rates have been perfected.  All that has been sprayed is a bunch of plastic sheets to see how things might appear in reality.


Sprayed with 'Guide Coat'
The idea is not to start with some grand piece of repair.  It's to start with something small in case it doesn't work out, the damage won't be too great nor the mess too big to clean up.  The first trial was to spray the television base which is made out of a piece of G10 epoxy board.  This worked well and I got an idea to what thickness the gelcoat needed to be applied.  This also helped the learning curve improve bit by bit.


Initial sanding of the guide coat with the mouse sander
Trying to make the black spots evenly distributed
The next level was to spray the cockpit storage locker lids.  They were in pretty bad shape with cracks and rotted core material which all needed to be repaired first.  Then the insides were all sprayed.  This a true test of the large scale repeat-ability of the spray system.  Since I was spraying the inside of the lockers, a screw up wouldn't be so dramatic here either.   

 
All went well and we geared up to spray the outsides.  Each lid took an hour to complete.  Basically 4 coats of gelcoat with 10 minutes between coats and 20 minutes wait time before moving the lid to a safe place to dry.  The lids also required much more hand sanding and detail work with the finishing than an entire side of the boat.  This also helped the learning curve.


Wet sanding with the 'Softie'
After the lids were sprayed and allowed to cure for a day, a "guide coat" thinned out Black Oxide primer was sprayed over all the new gelcoat.  The guide coat helps show where the orange peel has been sanded and where it hasn't.  It really helped keeping from over-sanding through the gelcoat and ending up having thin or no gelcoat.  The corners are particularly sensitive to over-sanding since the sanding disc can cut through at one place rapidly without any warning.  They must all be hand sanded with light block pressure and fingers. 

Progressively remove more gelcoat with finer sandpaper
Initial sanding was done with 80 grit on the mouse sander.  Then 120 grit on a Softie glue pad.  Next came 330 grit, then 800 grit, then compound on a buffing pad, then wax.  There is some hand sanding, especially on the corners but the beauty of what I am seeing is that 90% of the work can be done with machine sanding and polishing.  This should make quick work of the big areas when that time comes. 
Rough sanded, no guide coat remaining


Final finish and polished


Dave Deakyne
David Deakyne
David J. Deakyne
Dave Deakyne
Wallingford Dave Deakyne
David Deakyne
David J. Deakyne
Dave Deakyne
Wallingford

Sunday, November 5, 2017

Pressure Gauges and Regulators


I thought that once you set a pressure regulator to a certain position, the corresponding pressure would stay constant.  Turns out that's not the case. If you turn off the air and reapply it, the pressure will be completely different.
Gauges are accurate, regulators are imprecise.  Every time you reapply air to a regulator, it needs to be adjusted on the gauge to provide the pressure that you need. 

If you change the regulator input pressure, the output also changes, not much but it doesn't stay constant.  That doesn't seem too regulated to me.  I need very exact pressures to the pressure pots to provide a constant, measurable, flow of materials to the spray gun.  Plus or minus 10% is not good enough.  My solution was to regulate the regulators.  I regulate the air coming out of the compressor to 40 psi.  This is then regulated to 20 psi at the tank with another regulator. and then a 3rd and final stage is the only regulator that I have to actually adjust provides the pressure to the tanks.  This 3 stage regulation works very well and the pressure stays right where I need it, plus or minus 1%. 


From the picture on the right, when the outlet pressure equals the spring pressure on the diaphragm, the poppet valve closes.  It won't open again until the outlet pressure drops somewhere below the spring pressure.  This will cause fluctuations in the output pressure every time the poppet valve opens and closes.


Regulators are also not very accurate in the extremes.  Either very low of very high pressures don't allow the internal spring tension to work in a very linear manner. 


To solve both of these problems, I put a calibrated orifice on the tank.  Basically I drilled a hole in a fitting.  This always leaks air at a constant rate and keeps the poppet valve always slightly open and makes the spring tension operate more in the middle of it's range.  This would  be a stupid idea if I was trying to regulate the pressure of something like Propane, but it is just air and so what if it leaks.

The bottom line is that you must adjust the regulator pressure to read on the gauge exactly what you want every time you set up the system.  Trust the gauge, not the regulator.

Dave Deakyne
David Deakyne
David J. Deakyne
Dave Deakyne
Wallingford Dave Deakyne
David Deakyne
David J. Deakyne
Dave Deakyne
Wallingford

Saturday, November 4, 2017

The Pressure Pots


Gelcoat Pressure Pot. -  5 Liters
I bought a nice 5 Liter pressure pot online and had it shipped to Malaysia.  It can hold a gallon container and actually has a pneumatic mixer that stirs the material without having to open the pot.  I thought that was a silly thing but it turned out to be very useful.  The biggest problem was the 100 psi pressure gauge.  I need 6 psi to push the gelcoat to the gun.  It was hard to get any type of exact reproducible reading at the low end of the scale so I got a 1 Bar (14.7 psi) gauge locally which has worked great. 


This is the Catalyst Pot that didn't work
For the catalyst pot, I initially planned to use a 1 Liter HVLP pressure pot from a Harbor Freight spray gun.  I adapted it and got it hosed it to the gun.  The big problem with it was that air always leaked from around the seal and that MEKP is a highly corrosive oxidizer.  The MEKP turned the aluminum and brass parts into chunks of scale which kept clogging the catalyst orifice on the spray gun.  I even installed a motor bike fuel filter in the line as a band-aid fix but that didn't keep the catalyst turn grey because it was eating the aluminum.  In the end, a new solution needed to be found.  Either plastic or stainless steel seemed to like a good idea.   


The Catalyst Pot Version 2
When we were home last summer, I fabricated one almost entirely out of 316 stainless steel.  I was fortunate enough to find a 100% 316 stainless 1 bar gauge and a nice 316 chemical reactor vessel.  I had to drill and tap 2 holes in the top.  One for the air supply and one for the pickup tube.  The brass pieces below and to the left of the gauge make up the calibrated orifice.  The double regulation gives a much more stable pressure at such a low pressure (2 psi).


Dave Deakyne
David Deakyne
David J. Deakyne
Dave Deakyne
Wallingford Dave Deakyne
David Deakyne
David J. Deakyne
Dave Deakyne
Wallingford