 |
| Sprayed with 4 thick layers of gelcoat |
Up until now, all this has
been a big theory and there have been some engineering obstacles to
overcome. Little by little, the
sprayability of the Duratec and gelcoat has been perfected. The pressures and flow rates have been
perfected. All that has been sprayed is
a bunch of plastic sheets to see how things might appear in reality.
 |
| Sprayed with 'Guide Coat' |
The idea is not to start with
some grand piece of repair. It's
to start with something small in case it doesn't work out, the damage won't be
too great nor the mess too big to clean up. The first trial was to spray
the television base which is made out of a piece of G10 epoxy board. This worked well and I got an idea to what
thickness the gelcoat needed to be applied.
This also helped the learning curve improve bit by bit.
 |
| Initial sanding of the guide coat with the mouse sander |
 |
| Trying to make the black spots evenly distributed |
The next level was to spray
the cockpit storage locker lids. They
were in pretty bad shape with cracks and rotted core material which all needed
to be repaired first. Then the insides
were all sprayed. This a true test of
the large scale repeat-ability of the spray system. Since I was spraying the inside of the lockers, a screw up wouldn't
be so dramatic here either.
All went well and we
geared up to spray the outsides. Each
lid took an hour to complete. Basically
4 coats of gelcoat with 10 minutes between coats and 20 minutes wait time before
moving the lid to a safe place to dry.
The lids also required much more hand sanding and detail work with
the finishing than an entire side of the boat.
This also helped the learning curve.
 |
| Wet sanding with the 'Softie' |
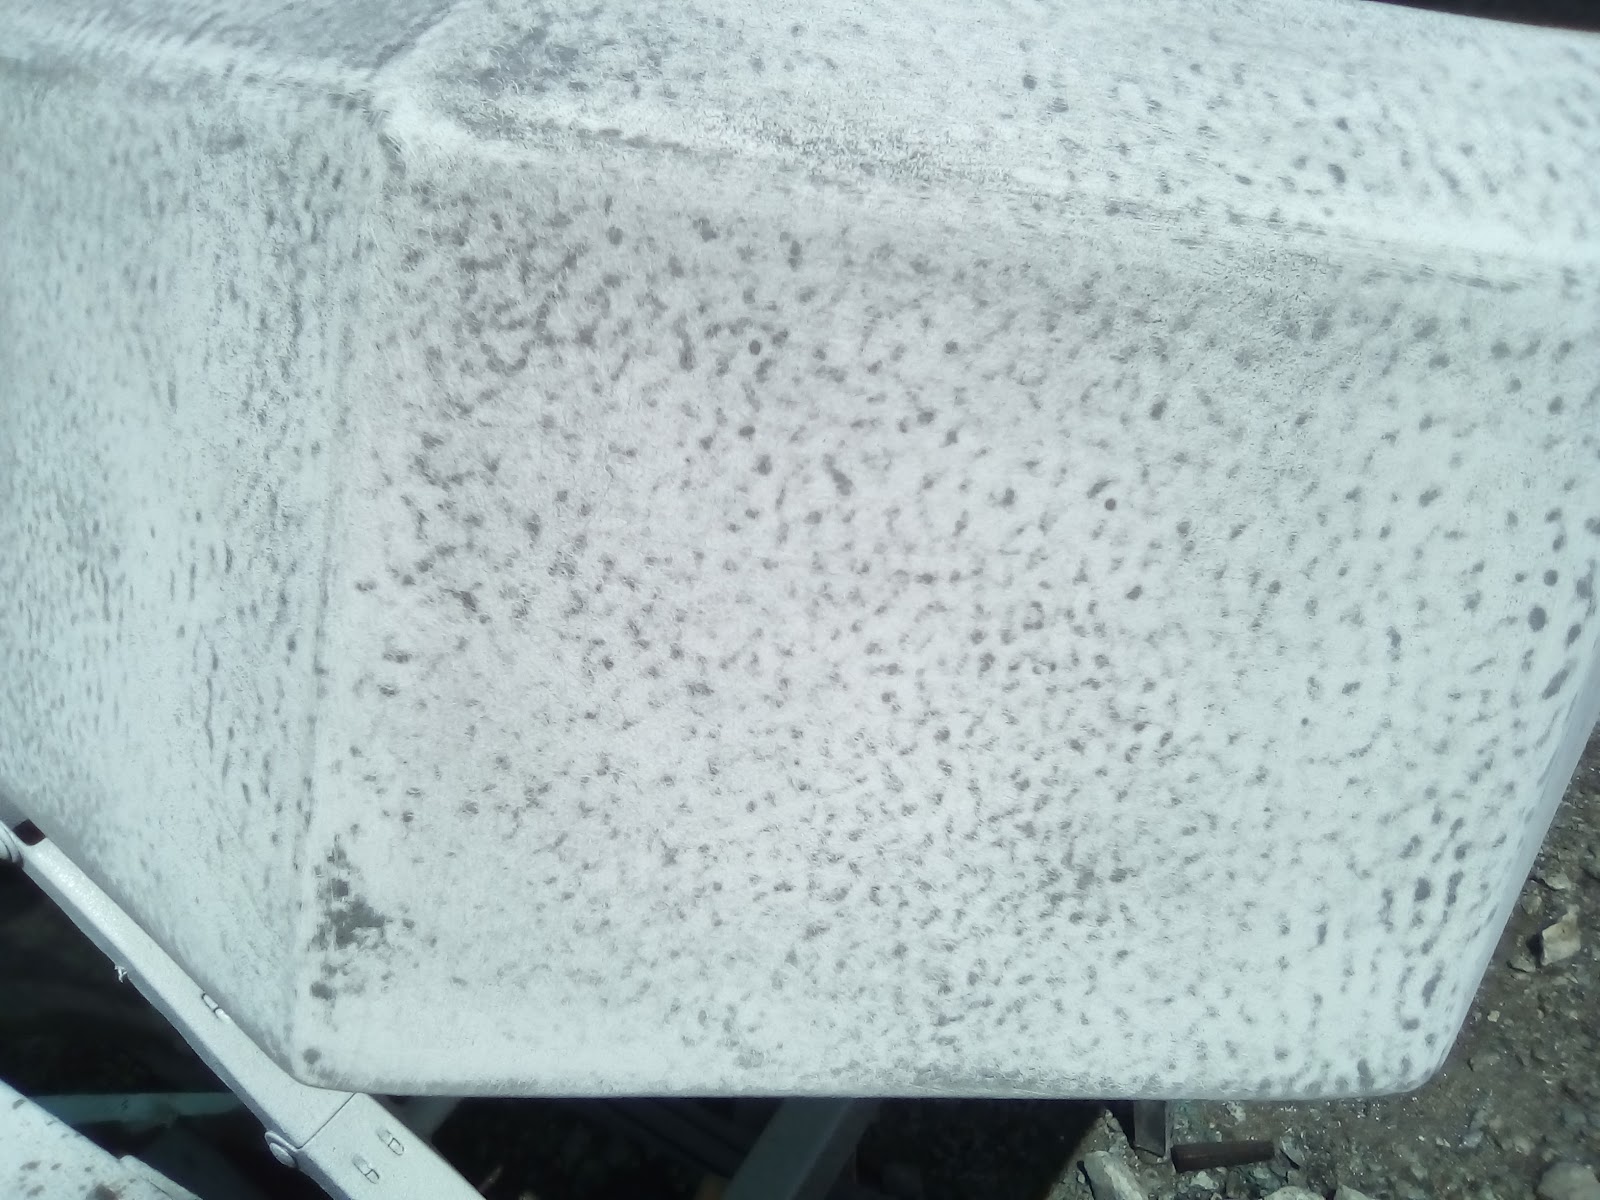
After the lids were sprayed
and allowed to cure for a day, a "guide coat" thinned out Black Oxide
primer was sprayed over all the new gelcoat.
The guide coat helps show where the orange peel has been sanded and where it
hasn't. It really helped keeping from
over-sanding through the gelcoat and ending up having thin or no gelcoat. The corners are particularly sensitive to over-sanding since the sanding disc can cut through at one place rapidly without any warning. They must all be hand sanded with light block pressure and fingers.
 |
| Progressively remove more gelcoat with finer sandpaper |
Initial sanding was done with
80 grit on the mouse sander. Then 120
grit on a Softie glue pad. Next came 330
grit, then 800 grit, then compound on a buffing pad, then wax. There is some hand sanding, especially on the
corners but the beauty of what I am seeing is that 90% of the work can be done
with machine sanding and polishing. This
should make quick work of the big areas when that time comes.
 |
| Rough sanded, no guide coat remaining |
 |
| Final finish and polished |
Dave Deakyne
David Deakyne
David J. Deakyne
Dave Deakyne
Wallingford
Dave Deakyne
David Deakyne
David J. Deakyne
Dave Deakyne
Wallingford


No comments:
Post a Comment