Monday, April 1, 2019

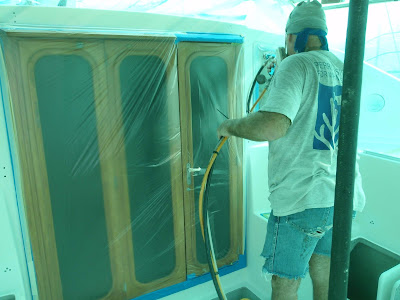
Spraying the Cockpit


Taped and plasticked engine room hatch
Hatch back and holes taped temporarily
On the foredeck we used thin masking plastic to cover the deck because of the large area to be covered.  The problem with that plastic was that after a few passes, the overspray made the plastic sticky and it stuck to our feet, pulled up, and sometimes tore.

Booker would then have to go around with blue tape and tape up the torn areas.
More plastic and tape
To solve this, in the cockpit we used a thick vinyl plastic that you purchase by the roll.

Managing the hoses was difficult
Just like the foredeck, the cockpit had to be done in sections.  We taped the entire cockpit and sprayed half on one day and the other half the following day.  Fortunately the weather in Malaysia is dry in March and April.  Otherwise we would have to wait for things to dry and we would have risked moisture on the original surface that would cause delamination of the new layer. 

Old on the right, new gelcoat on the left
Guide coated and ready for sanding
Once both sides were sprayed, we applied the guide coat and did the initial 100 grit wet sanding.  There are a lot of corners and areas that needed hand sanding so this area is much more time consuming that the big flat areas that can be sanded with the 8” discs.


New gelcoat vs.Old

After spraying, engine room lid back in place


No comments:

Post a Comment