Wednesday, July 16, 2014

Launched 11 July 2014


After over 2 months of boatyard work, we finally made it to the water.

During our Mexico launch, the Travelift showed up with 5" of mud stuck to the straps.  We couldn't even get it all off and had to put plastic over them to protect the hulls.  Then they pushed us out into the creek with an engine that needed to be bled and wouldn't stay running and we floated onto a shallow spot. Cost $450.

 
Clean crossed double  straps

Covered with paper
The launch here at the Gold Coast City Marina was absolutely incredible.  The guys came with pressure washed clean doubled-up straps, crossed them to keep them off the keel and shaft.  THEY brought paper and put it on the straps to protect the hulls.  I had an impeller problem so they got a dinghy and helped push Tortuguita into a slip so I could work things out.  We took a short tour out in the Coomera River to see how the new propellers behave, came back to a different slip and had 4 guys waiting to catch our dock lines. No rushing, no sloppiness, true professionals.  Cost $525. Well worth the extra $75.
On the road again

We have a big list of things to be done before leaving like putting on the sails and aligning the engine shafts but the biggie is to clean the boat top to bottom.  Maybe a week before we will depart.  We'll update the tracker page as we progress.  G'day 


In the well


Monday, July 14, 2014

Propspeed vs. Velox


Marty applying Velox Primer
Dave applying Propspeed

Marty, from Bradford Marine (the go to guys for any type of bottom job), has been a big help with advice on all kinds of things from paint, to peeling, to fiberglass.  He came from England to learn boating in South Florida.  He did lots of grunt labor in yards but learned well.  He made it out to the Caribbean where he worked his way up the ranks on Superyachts.  Married a Kiwi, went to New Zealand for a while, came to Oz as Captain of a Superyacht, had children, and started up Bradford so he could be home every night.

Starboard prop with Velox

Port prop with Propspeed
We have always used Propspeed as antifouling preventative on the propellers.  There was a new propeller product introduced at the Sanctuary Cove Boat Show last month called Velox.  It's not a silicone slippery paint like Propspeed but a zinc based paint. Propspeed has worked work well and is applied to 90% of the running gear by Bradford but what about a new product?  How well does it work and can they recommend it to their customers, who knows?  Anyway, Tortuguita is now the Bradford experimental test bed for Velox.

Marty set us up with a free Velox job on the starboard side and the port strut.  Propspeed was applied to the rotating parts on the port side.  While he was at it, he put Jotun SeaVictor antifouling paint on the Starboard Rudder to compare with the rest of the paint which is Jotun SeaGuardian.

So, we'll take some pictures throughout the season and when we return in November, we'll see what is what.  Fun.
Propspeed 

Saturday, July 12, 2014

New Propellers


When replacing the propellers back in Grenada, I had consulted with Vetus, Volvo, and used a software program called Propcalc to calculate the best pitch and diameter for the props.  They all said that 17X13 would work fine.  That's 17" diameter by 13" pitch.  Meaning that for every revolution, the prop would progress 13" forward.  The original props from Privilege were 16X11.  So 1" in diameter and 2" in pitch seemed like it would push more water per engine revolution and give an increase in speed.  Wrong.  Don't trust the numbers.

Since 2009 I have been living with overpropping.  At high RPM the engine ran like a diesel truck going up a steep hill.  Blowing black smoke and not doing much on the power curve.  At low RPM, around 2200, decent speed was produced but the engines could never be run-up.

With fixed pitch props they will always turn when sailing.  This is fine but causes extra wear in the transmission, stern tube, and cutlass bearing, and lots of whirring noise.  You can lock the prop by putting a non-running engine in reverse but that costs Tortuguita about 1/2 knot per propeller.  When we were crossing the Pacific, we would lock the starboard prop on the side that we were sleeping on, or the noise would keep you awake.

So it looked like I was going to have to make the investment in new propellers, again.  There are plenty of 'feathering' propellers but I like the idea, design, and simplicity of folding propellers.  You will supposedly gain 1/2 knot by not spinning a fixed prop.  That should be 1 full knot since we have 2 props.  We'll see.

There are really only 2 big brands of folders.  The Gori and the Flexifold.  The Gori is a 2 speed prop that gives you a bigger pitch if needed but I've already seen what happens with operpropping.  The Flexifold is basic, simple in design and costs half that of the Gori.  It also turns out that a 16X11 just barely fits without hitting the rudder.


Our friends on Lightspeed had issues with the Flexifold and returned them for the Gori but I think the design has changed since then.  I chose the Flexifold at $2000 each plus another $400 for shipping to Australia.

I used Permatex Prussian Blue to check the shaft/prop taper and used valve lapping compound to lap the tapers of the prop and shaft to get almost 95% contact on the taper.

The installation was straight forward and I used extra Lock-Tite just to make sure none of the screws came out.

Wednesday, July 9, 2014

Window Screens

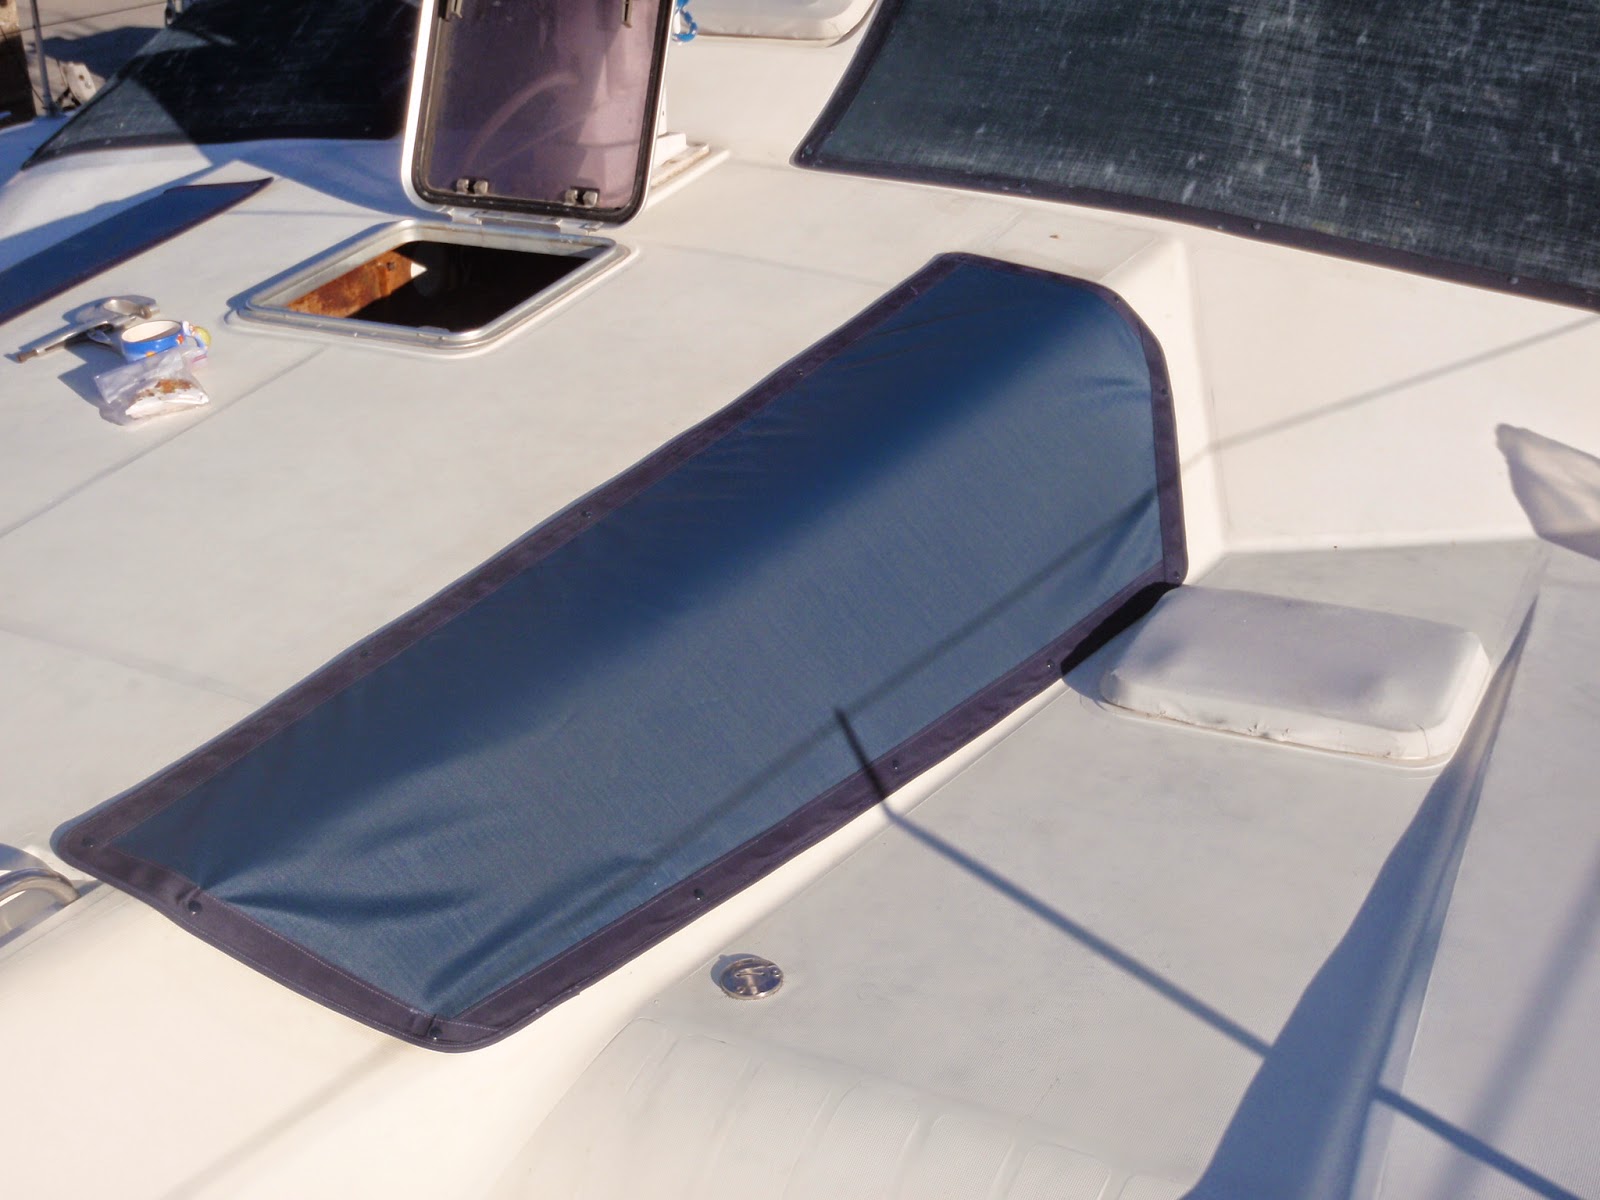
We had screens made in 2006 to cover the ugly crazed windows.  The screens block out 65-70% of the UV which helps stop further crazing.  After 9 seasons in the tropics the screens were really looking bad.   So, New Windows deserve New Screens.

The screens did a good job but the sun took it's toll.


Add caption


I sewed up the screens in the apartment and here they are being installed.  The snaps are supposed to be self piercing but there are around 6 layers of Sunbrella in the corners so I heated up a nail with the propane torch and pre-made the holes.

 This picture shows the old and new screens.

Final Product

Installing the Windows

Finally the windows are done and ready to go in.
The 10mm plexiglass is alot thicker than they were used to so the radius was not as tight as it needed to be so there were a few extra trips for tweaking.


 The old caulk in the frames had to be cleaned out.  Some of the failure areas in the old windows were where the bonding adhesive had pulled the gelcoat off of the fiberglass and water was leaking through the delamination.
The cabin headliner was installed, wrapped around the edge and foam tape used to fill the gap and give a clean appearance.
The window was then bonded to the frame with Bostik 940a Glazing Adhesive.

This is really quite amazing stuff.


Then aligned and held in with wood blocks and screws.


After a week of curing, the blocks and screws are removed and the screw holes plugged with thickened epoxy.

Unfortunately there was a steel trawler being sandblasted next to us so we were not able to do the final sealing for another week because the dust would stick all over the surface.

Final Product
The gap around the edge of the window is then filled with Dow Corning U-428.

This Dow product dries at 1mm/day so it will take 7-10 days to cure.  The windows will expand and contract up to 6mm from the heat of the sun, that's 3mm on each end so they have to be covered during the curing process to keep the sealant from squeezing out and pulling away from the plexiglass.


Seal around edge of window

Here is a detail of the bond between the plexiglass and fiberglass


DONE!


Monday, June 30, 2014

Making Windows

Ever since we bought Tortuguita, the forward windows have been leaking.  These windows span the forward cabins and the 5th cabin (The garage).  I re-caulk them every 2 month but they always fail.  The plexiglass on the port window is cracked and both are extremely crazed.

Well, this is not the 3rd world.  There are 3 local shops that do serious thermoforming of plexiglass.  We went to all of them and chose P&M Plastics.  Initially, I did not know what was necessary to make these new windows.  I thought there was a straight bend and it would fit perfectly.  When I got the first one out, I wanted to mark the center of the bend and guess what, it was a complex curving bend.

I went to P&M to find out how this would now work.  They would now have to heat the plexiglass in a huge oven and drape it over a mold of the window.  The mold had to be 50mm larger than the actual window.  What kind of mold, I asked?  Plaster, wood, fiberglass?  They showed me some small things but there was nothing like this in their shop.  So, I bought resin, fiberglass, and wood and glassed up a mold like they wanted.  They wanted to do both at the same time so we had to pull both windows and make 2 different molds since they were mirror images of each other.
What a mess


The cabin is upper.  The garage is lower right.


Extend the windows with wood and foam
I screwed wood around the edge and then glued 10mm styrofoam to the wood to bring it up to be level with the inside of the window


Apply mold release agent

Mold release agent is applied to everything or so the fiberglass form will separate.


Fiberglass was laid up on to the window and then reinforced with wood slats to help keep the shape.


I used my machete to pry the pieces apart and there we go.  One window mold.


Windows and molds at P&M Plastics

Return to Australia

We arrived in Brisbane on May 5th.  It was raining which was a good thing because when I got the wipers confused with the turn signals on the rental car, nobody knew.

It was a good thing we brought our car GPS or we would have been totally lost and the left side driving thing.  The traffic does flow nicely here.  The philosophy seems to be the driver as much responsibility as possible.   There are heaps (an aussie term) of Yield signs and Roundabouts.  Of course that means fewer Stop Signs and Traffic Lights.  When you do get stuck at a light, they seem to be much longer than in the US.  I don't mind this because you end up stopping a fewer lights.  All the lights are controlled by motion sensors and other intelligent planning, so the lights won't change if no one is coming.

We are only allowed to stay on the boat a few days while it is on land so we got an apartment by the week.  This, along with the rental car has really made it nice.  Instead of being stuck in a boatyard, we have been able to get out and enjoy the area, food, and drinks.  Drink Driving, as Aussies call it, it being clamped down on.  The have a TV show like our Cops show called RBT (Random Breath Test).  In 2 months, we have been through 5 blockades and had to do 3 breathalyzers.  Good thing I had only 'a few'.  I'm having enough trouble with the left side road thing that I don't need to be more confused with alcohol.

The first apartment we were in was on Chevron Island.  Convenient but a little run down.  We stayed 3 weeks but they filled up and we couldn't extend so we found another place out on Surfer's Paradise that is definitely nicer.  I have been sewing new window screens and headliners which would have been much more difficult on the boat that on a big tile floor of the Flat.

Catamaran Row, Gold Coast City Marina