 |
| Insert style rubrail |
There are 2 types of rubrails. One kind is a track with a slot that gets an insert. The other is a track that gets a cover over it. The tracks are screwed to the boat.
 |
| Cover style rubrail by Tessilmare |
Tortuguita has rubrails down the sides and around the swim platforms. Both were in terrible shape and were removed for the gelcoat spraying. The rubrails that are on the sides have an aluminum track with a plastic insert. The aluminum was deteriorated, the caulk had failed and dirt and algae were living behind the insert. We replaced these with Vetus EHARO60.
 |
| Original swim platform rubrail |
 |
| Old rubrail removed from groove |
 |
| New rubrail has to fit in this groove |
The big problem finding a replacement rubrail is that it has to fit into a recessed groove that runs around the perimeter.
 |
| Rubrail on LUNA. RADIAL 30 |
Lou on LUNA turned me on to the Tessilmare RADIAL rubrail but the one he used was a little smallish looking (30mm) but it did mount inside the groove easily.
 |
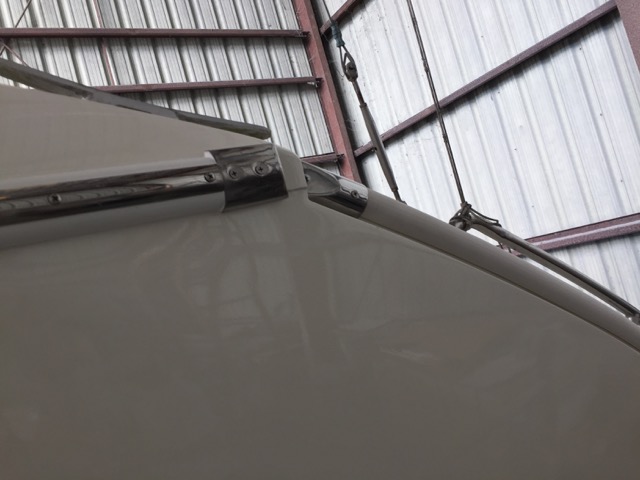
| Mounting and thermoforming the track |
.jpg) |
| Bend the cover to get it on the track |
The problem with installing it into a groove is that the cover spreads out when bending which keeps it from fitting onto the frame.
 |
| Mount and trim the cover |
The first part was to mount and screw the track to the groove so that the cover would fill the groove as much as possible. I actually installed the rubrail upside-down so that the long edge runs around the upper corner of the swim platform to hide the gap at the top. The track had to be thermoformed with a heat gun and screwed in place so that the finished product wouldn’t have gaps.
 |
| Hold the bottom in the groove and pull the top back to access the screw |
Now the fun part was to remove the track and mount the cover on it.
Then the assembled unit had to be caulked and screwed into the prior drilled holes.
Some thermoforming was needed on the cover around the compound corners.
After the caulk dried, the edges were taped and caulked.
Each hull took 8 long days to complete with the only real unexpected issue was that the track, being black plastic, expanded 6mm in the heat of the day. This really caused problems getting the screws back in the correct place during the final remounting. Nobody said it would be easy. Especially me. |
| Finished product |
No comments:
Post a Comment